|
|
|
|
|
|
Carb parts
|
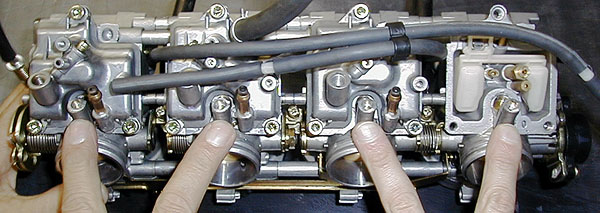
CRB-S71-1.7-RK RaceKit
$239.95
|

This is the highest performing carb kit available
for the gsxr600 that retains excellent low speed driveability qualities.
Slightly more complex to install than a 1.0 or 1.1-ti
Ti ProKit, but easier to fine tune.
If you have the 98 model red plastic
stacks, best results are with the 99-00 model, short aluminum
stacks.
Use with stock or aftermarket exhaust, makes
best power, overall. Period.
1.7 RaceKit
|
CRB-S71-1.0
$149.95
|
The kit, when properly tuned, adds more low-end /
midrange and if the proper main jet is selected, more top-end power.
Easy to install and tune - no slide drilling!
Standard drop-in carb
kit
|
|
Hybrid Ceramic Wheel Bearings |
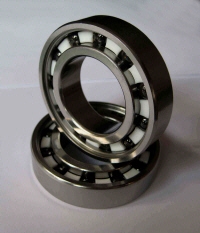
$99.95
2 bearing kit
front wheel only
pn: BE-HYCER-S70-FR |
Hybrid Ceramic Wheel Bearings
2 front wheel bearings
Tough 52100 steel races, rubber seals and
lightweight, almost friction free, silicon nitride
ceramic balls.
Bearings are pregreased and ready to use.
Bearings have rubber seals that are easy to
remove if desired.
marc@factorypro.com |
|
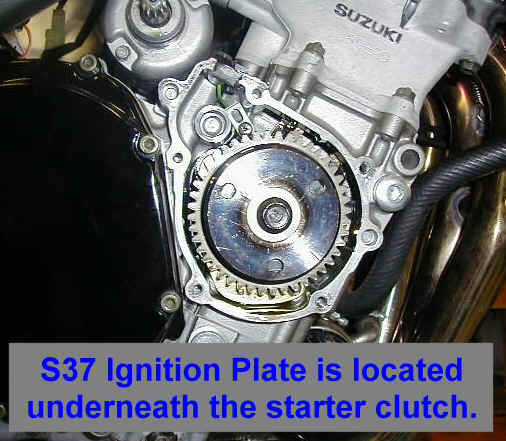
Ignition Advance
Plates - better lowend and midrange
|
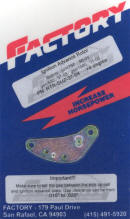
RTR-SUZ-37-06
(97-07 models)
$xxx.xx
discontinued - sorry
|
This simple, bolt-on ignition advancer kit advances
the timing 6 degrees. With stock engines with stock compression ratios,
there is more power at low and mid. Part throttle power is better - helping
corner exit speeds. Improved in-town drivability and quicker warm-up.
Works best when rejetted for the advancer.
Installation instructions -
click here.
Ignition Advance Kit
|
|
Factory
Pro Billet Engine Covers w/ Integrated Sliders
|
|
COV-S37-RH/LH
$249.95 LH
$99.95 RH
|
For Race or Street use.
Used by nearly every high visibility team around. More than one race
has been won after a low-side crash - all due to the superior
strength of the Factory Pro fine grain Billet Engine Cover's toughness!
Absolutely the strongest cover you can buy and the highest strength
/ weight ratio available.
More cover thickness than stock on both RH and LH side covers and can
be show polished to a mirror finish!
Includes: Covers and replacement stainless steel allen screws.
|
|
Factory Pro Shift Kits, Pro Shift Kits
|
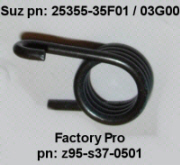
F-Pro Shift Spring
$xx.xx
pn:
z95-s69-0201/0/0501
replaces Suz pn:
35355-35f01/03g00,35f00 spring
|
Stage 1
The Shift Spring
You
will miss fewer
shifts, shift
even quicker and help
prevent shift
fork damage
caused by missed
shifts.
Suggest the spring.
The star, arm
and spring are
located behind
the clutch
basket. 1-2
hours to
install.
|
|
Tuning Tools
|

TL-float height gauge $59.95
|
The only way to accurately
measure float heights. Works on nearly every carburetor.
Accurately and easily set your floats to adjust the lower end of the
carburetion.
|