|
|
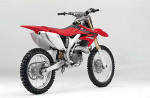
Honda crf450r |
|
|
Honda crf450r |
|
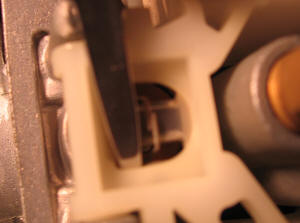
Factory Pro's Shift STAR kit - help prevent missed shifts and dog and fork damage caused by missed shifts. |
|
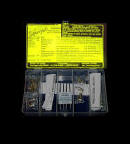
 (sample pic, not actual H45) SHFT-STAR-h45 $139.95 in stock May 2024 02-16 (inc 1 EVO STAR,- gaskets not supplied) replaces stock star: 24312-KA3-741 |
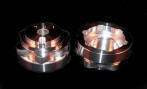
crf450r EVO Shift STAR only
The Factory Pro EVO Shift STAR Upgrade will upgrade your bike to "better than new" quicker, more consistent shift action. Suggest Star, Arm and Spring for best shifting. Proven in 15+ years of pro level use. Virtually eliminate missed shifts. Help eliminate 5th and 6th ghost neutrals. Decreases shift process 5mm to 10ms each shift. Make shifting MUCH quicker and virtually eliminate missed shifts. Helps address missed shifts caused by poor shift detent "star" profile. Helps prevent shift fork and gear engagement dog damage caused by missed shifts. The Factory Pro Shift STAR is an awesome upgrade for the notchy Honda shifting. Installation: Slightly more complicated than replacing the clutch basket. It's right behind the clutch basket. No case splitting required. Make sure you install the spring loaded shift star PAWLS CORRECTLY or the bike will not shift into the upper gears. Feedback Shift Star kit worked awesome! Not one missed shift all weekend. Easier to find neutral, too - Which is good because I have to put it in neutral to start it for some reason. Doesn't like to start with the clutch in. With the close ratio tranny, I did a lot of shifting. Leigh Thomas - Mojave |
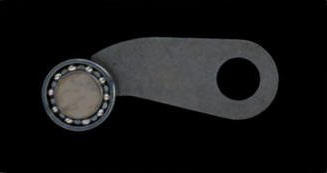
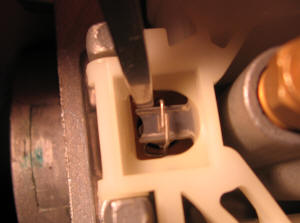
(sample pic, not actual H45) SHFT-ARM-HKA3-STEEL $69.95 in stock May 2024 02-08 (inc 1Microbearing Detent Arm and gaskets not supplied) replaces arm 24430-KA3-740 |
F-Pro Miicrobearing Detent ARM
For best results use with at least, the F-Pro shift spring. Proven in 15+ years of pro level use. Help eliminate missed shifts. Help eliminate 5th and 6th ghost neutrals. Decreases shift process ~5ms each shift. Make shifting quicker and virtually eliminate missed shifts. Helps address missed shifts caused by high friction detent roller. Helps prevent shift fork and gear engagement dog damage caused by missed shifts. Installation: Slightly more complicated than replacing the clutch basket. It's right behind the clutch basket. No case splitting required. Feedback Shift Star kit worked awesome! Not one missed shift all weekend. Easier to find neutral, too - Which is good because I have to put it in neutral to start it for some reason. Doesn't like to start with the clutch in. With the close ratio tranny, I did a lot of shifting. Leigh Thomas - Mojave |
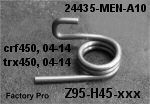 F-Pro pn: z95-H45-105 $49.95 in stock May 2024 02-16 crf450r Comp Shift Spring (replaces original Honda 24435-MEN-A10 and 770 and MEB-670) |
F-Pro crf450r and x Comp Shift Spring (also fits 04-05 trx450 Slightly stronger detent arm spring for more secure and even quicker shifts Addresses that popping out of gear in the air issue - It's caused by the shift mechanism only rotating the shift drum halfway. This spring is the icing on the cake for the guys who have the Shift Star kit. For best results use with at least, the F-Pro Microbearing detent arm. |
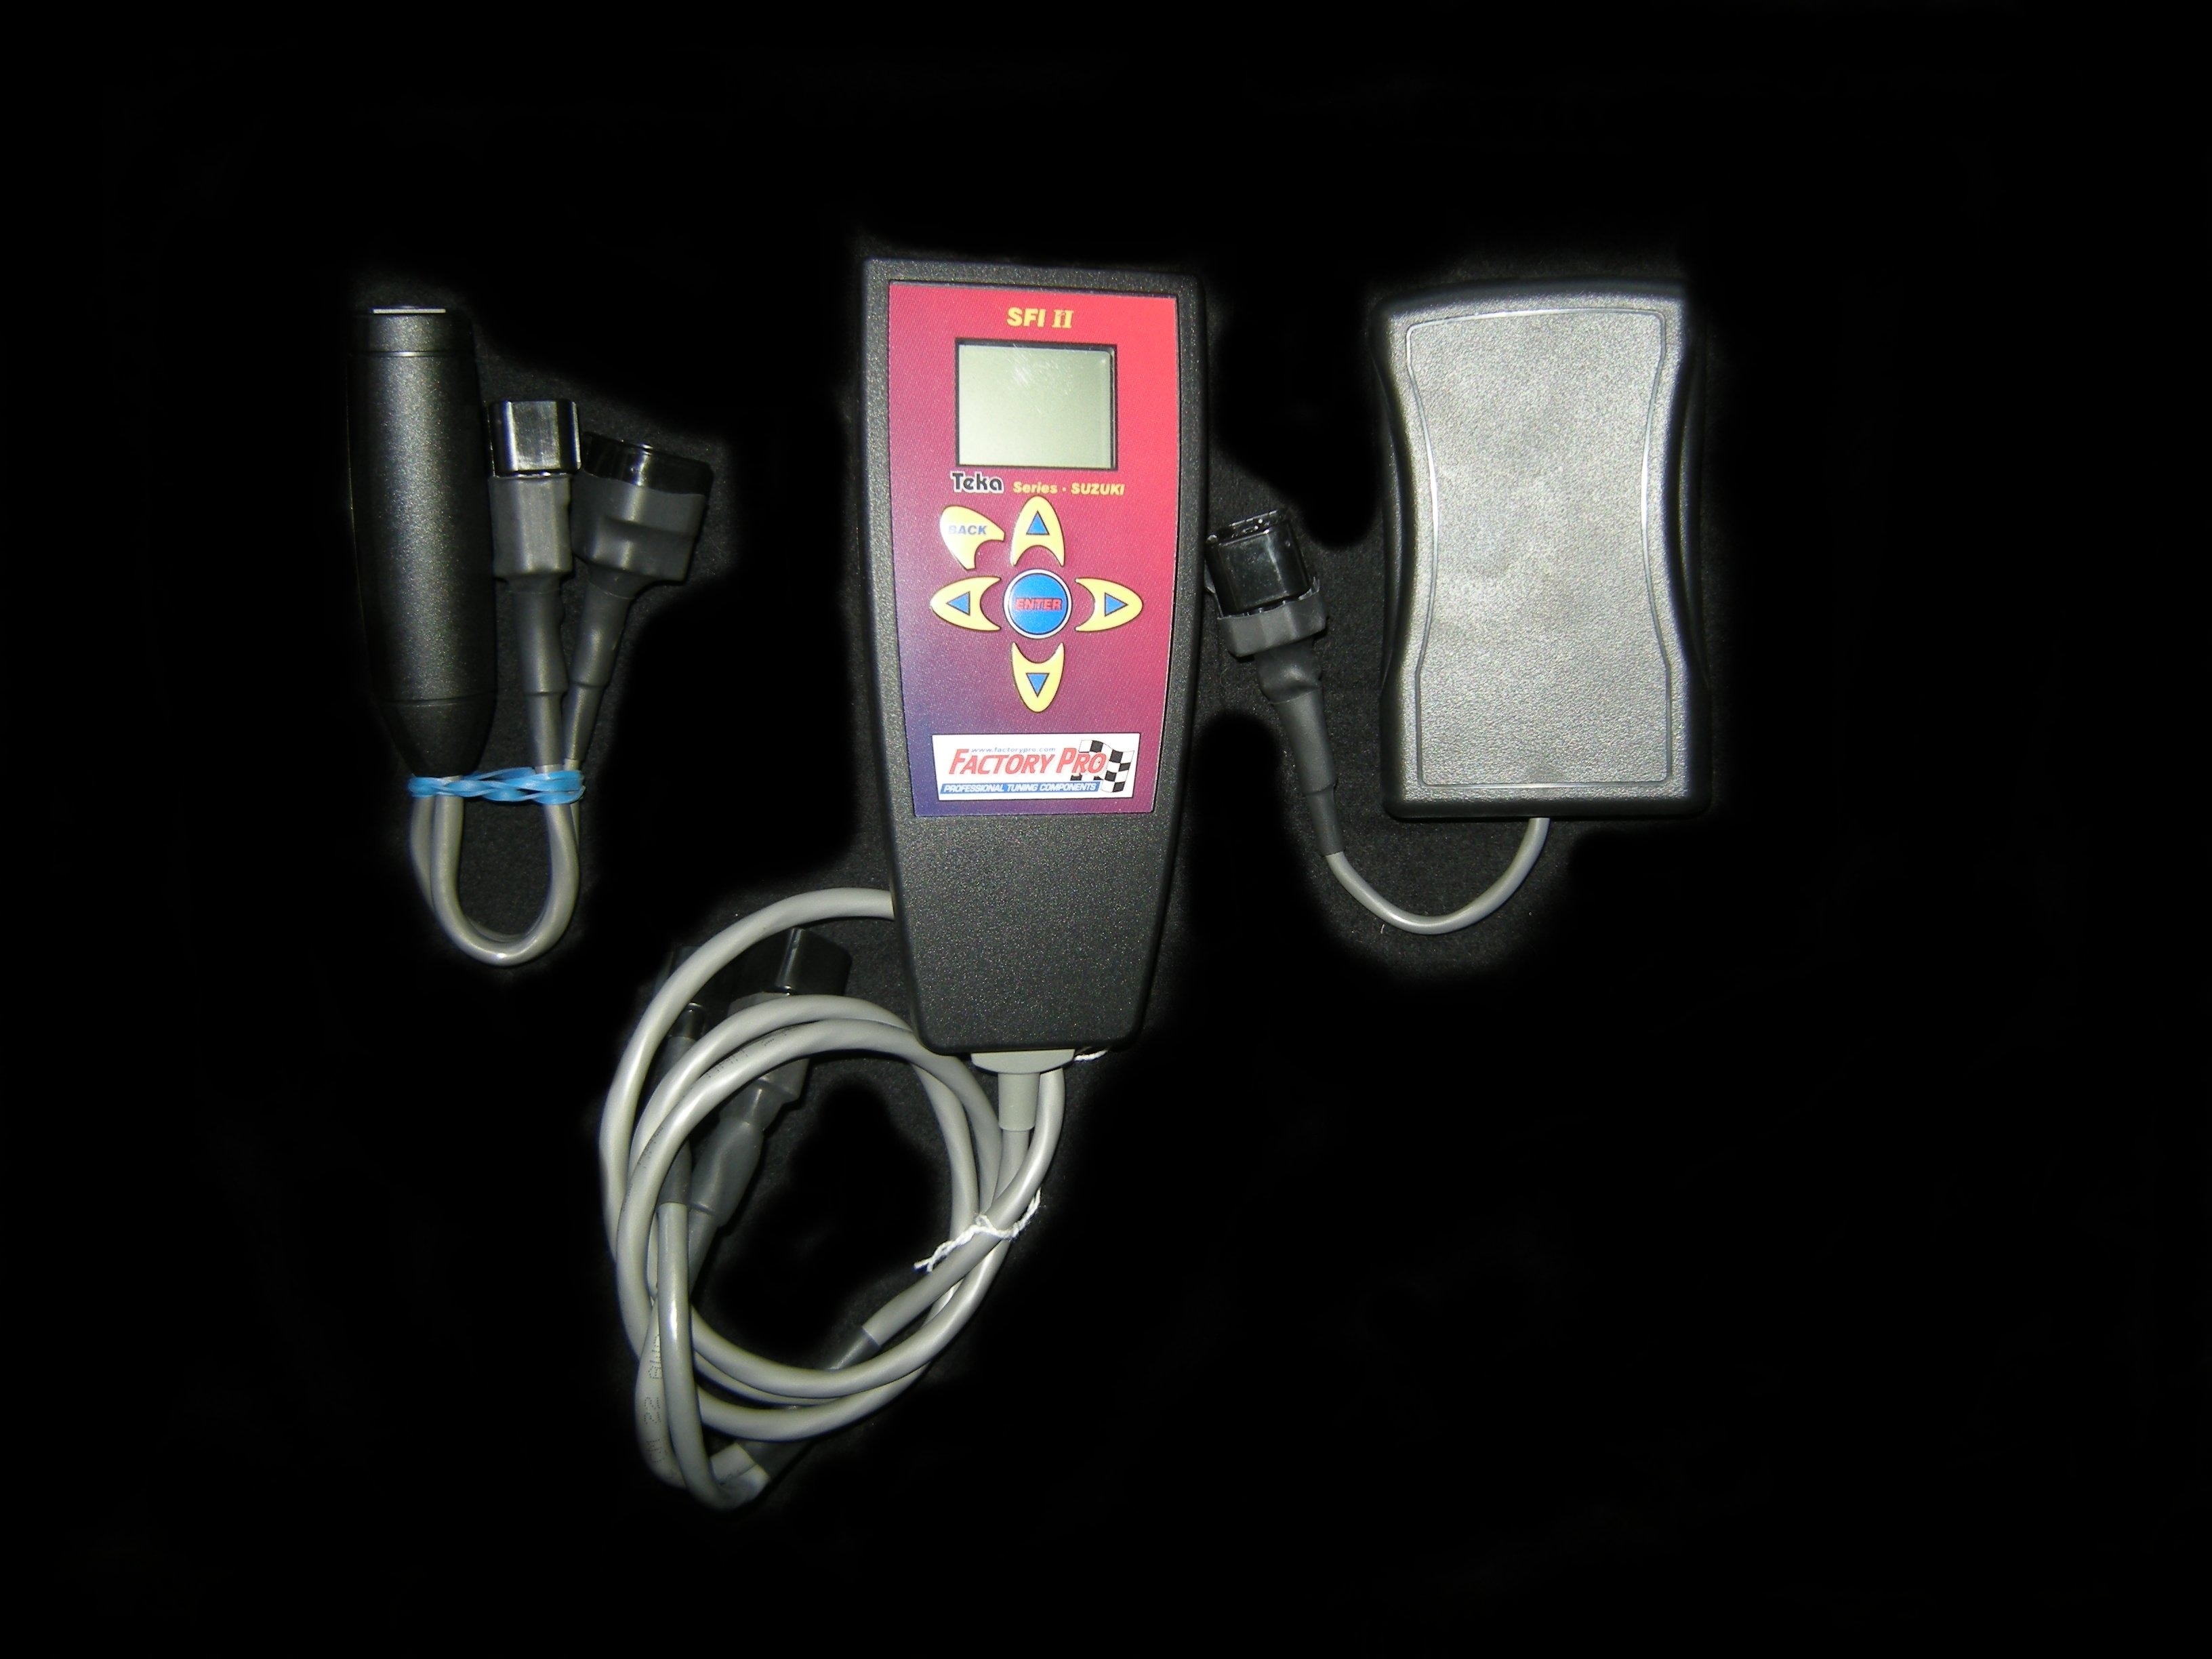
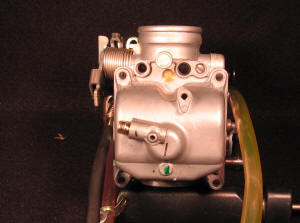
| Keihin FCR Carb Recalibration Kit | |
|
CRB-CH45r07 04-08
$149.95
Factory Pro pn: CRZ-EMU-125k / 036 fits 250 and 450 w FCR carbs $79.95 in STOCK |
The 07-08 crf450r carb recal kit was designed with as much care and
attention to detail as we give to our EC997 dynamometer and test
routines, our Shift STAR shift improvement kits, our Billet Engine Covers
and all of the other products that the quickest road racers in the USA
and World used to collect a total of 9 WERA and F-USA national Championships -
along with the Suzuki Cup World Champion, Rob Jensen.
We've now entered
the off-road arena to bring some new, exciting, well proven concepts, such as our
easily tuneable "HDJ" style jet kits and several other things that we've picked up along
the way.
One of the improvements was EC997 dyne systems design and test routine design - We have been saying for years that inertia dynos were misleading and now, these new "HDJ" carb kits show how much better the EC997 load dynos are than inertia dynos when it comes to developing any performance products. Sounds a bit egotistical? Perhaps it sounds that way - but, I think that we've got quite a few local Norcal racers that we've done fine tuning work for that would agree with us.We are just passionate about fine tuning.
The Factory Pro HDJ kits, designed by Marc Salvisberg, will run more
evenly over a wider temperature and altitude range than any other carb
kit and will produce 3% to 8% better power than another carb with the
"best main jet" in it, when properly tuned and tested under a real load.
This does not mean an inertia dyno - though, power will be better with a
dealership level dyno, also.So - Here's the power - Buy it!
800 869-0497 Thanks! Feedback wondermusclePosted 04 May 2009 - 07:08 AM
For those
of you that are on the never
ending quest for carburetion
ambrosia, I have something that
may help you succeed. The
factory pro HDJ emulsion
tube. What is the emulsion
tube? It is the tube that the
main jet is generally threaded into. It
emulsifies (mixes, atomizes
etc.) the
fuel
as it gets pulled into the
airstream of the carb. http://www.factorypr...mu_hi_disp.html
I have been playing around with different carb settings since I bought my 08 YZ 450 in Dec of 2008. I have played with main jets, pilot jets, needles and their positions. I got the bike to work great but it seemed that the needle position never gave me the crisp lower midrange that I was searching for. Below are my current settings 45 Pilot Jet 2.5 turns out on the fuel screw 165 Main Jet Stock needle 3rd clip Factory Pro 125k / 036 emulsion tube I ride California desert at sea level and mountains of northern Baja with the same jetting. I did some web search and found that there is a company who makes their own emulsion tubes which help increase the efficiency of the main circuit in the FCRs. Zip-Ty Racing also endorses their product and uses them in some/most of their race bikes. I ordered one from them over the phone because their website is a bit confusing, but none the less they have some great info on there. The installation was as easy as swapping out a main jet. Remove the 17mm float bowl plug, then use an 8mm to remove the emulsion tube. Swap the main jet to the new emulsion tube and put it back in. It takes about 5 minutes. I put a drop of gas on the o-ring of the new emulsion tube just to help it slide in. The results were not mind boggling but it did exactly what I was looking for. It cleaned up the off idle to mid throttle response. I also noticed that the off idle bog is better but not fixed. I highly recommend this emulsion tube to help clean up the lower to midrange throttle response. Comment: Works even better with the entire carb kit. Issues with low speed carburetion with the oringed HDJ tubes are are addressed with the often overlooked float height adjustments. Marc |
|
Other performance goodies |
|
|
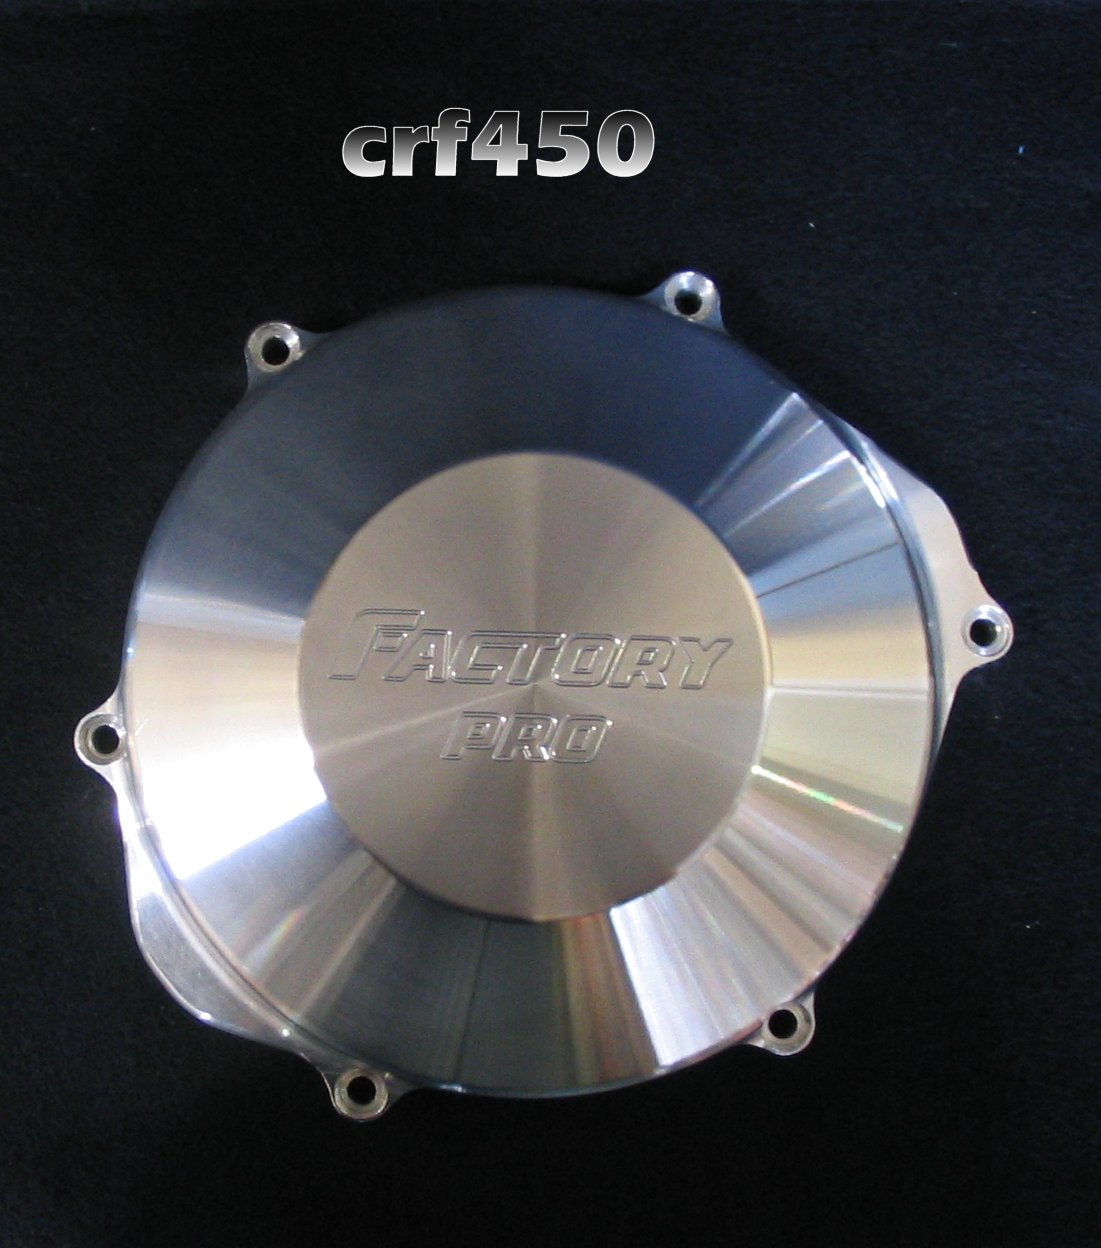
F-Pro Billet Clutch Cover w/ new screws pn: cov-ch45-rh-kt 02-08 crf450r (not the "x") $179.95 retail Special $69.95 |
 |
|
|
|
Factory Pro Around the World
 |
CR450f KONSTANTIN MEZHUEV Winter in Moscow, 2009 |
|
Tech Tips |
|
Factory
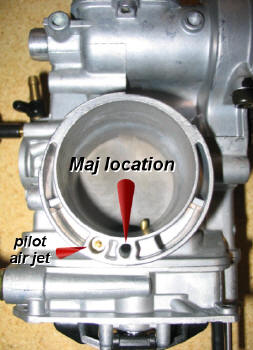
Pro's patented HDJ MAJ installation for crf / wr / yfz Keihin FCR carbs |
|
|
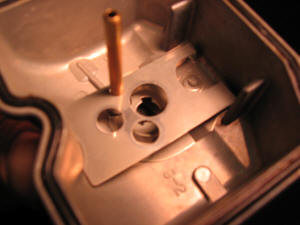
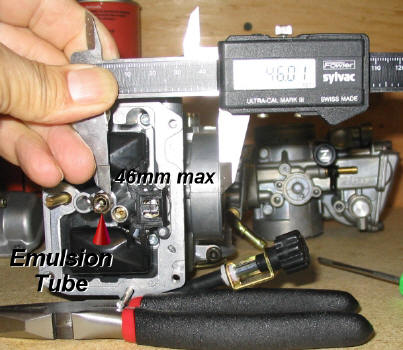
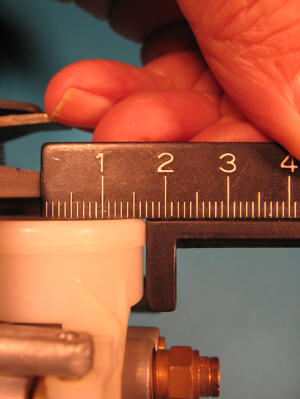
Where's my main air jet and what do I do with that drill bit and tap that came in my Factory Pro HDJ kit for my Keihin FCR carb? First step is to eliminate the fixed main
air jet restriction. Remove the stock emulsion tube (that's what the main jet screws into) so that you can clean out the carb well. By only having 45mm to 46mm of the drill bit exposed, it prevents you from drilling too far. Then, use the supplied tap from our HDJ carb kit, thread the
Main Air Jet (aka "MAJ") hole. Clean the hole, of course. After it's clean, complete the MAJ Modification by installing the supplied Main Air Jet and installing the new Factory Pro HDJ Emulsion Tube. NOTE!!! This modification is something similar to what we've done in
many different carb types over the years, though it might be new to
some who haven't used our "1.7-RK" carb kits before. |
|
 |
 |
Available direct from:
|
||||||||||
| LINKS | ||||||||||
|
|
EFI and Carb Tuning - Most all FI and carb tuning by Wheelsmith Racing |
|||||||||
|
|
Flight Training - train with AMA race winner Todd Harrington. The Harringtons own American Flyers, one of the most established flight training facilities in the USA. 8 locations 800-362-0808 |
|||||||||
|
|
The Rich Oliver
Mystery School will help you discover your hidden inner strength.
It will challenge you. It will teach you a new way of thinking, and a new way of riding. You can take your riding to an exciting new level! We use a variety of proven drills and training techniques. Practicing these techniques with our Yamaha dirt track trainers will enhance your abilities both on the track or the street. It doesn't matter what you ride or race, the Rich Oliver Mystery School improves everyone's skill level and mindset! |
|||||||||
|
|
WW2 vintage flying Special Book a sightseeing flight over the Wine Country
or a Kamikaze aerobatic flight or a biplane flight over famous
Sonoma Raceway,
the Golden Gate Bridge and the San Francisco Bay for one or two during
the spring and get a free souvenir t shirt! 707 938 2444 |
|||||||||
|
The extension of the laboratory
for engines of the Swiss Federal Institute of Technology was completed
in about 1935. Its architect was Rudolf Otto Salvisberg (1882-1940).
He had a successful career in Berlin but returned to Switzerland after
the advent of the Nazis. His architectural style was somewhat similar
to that of Erich Mendelsohn. The staircase of the laboratory is in normal
use but well preserved. Edited to the tunes of Chemical Residue by Herbie Hancock. |
||||||||||

.JPG)
.JPG)