Shift STAR Installation pics
ZX10
NOTE!!
These are ROUGH and GENERAL and VERY abbreviated clues - NOT to be used without a
genuine Kawasaki Service manual for proper assembly.
Tools, Partial list
5mm allen wrench
3/8" ratchet and socket set
1/2" air or electric impact wrench (for the clutch nut)
30mm 1/2" drive socket ( 1 3/16" in a pinch) (if 30mm is
wrong, please
email here with correct
size.
external circlip pliers (90 degree bend is easiest) small / medium size pliers
Pliers, needle nose and regular hand tools
Genuine Kawasaki Service Manual
Notes:
1. On the 10, you must remove the oil, exhaust system and the oil pan
to remove the circlip that holds the shift shaft in.
2. You must remove the clutch assembly to get to the STAR and the detent arm.
(thanks David Isaac, Singapore for the pictures)
You've already removed the clutch assembly and removed the oil pan
using your Kawasaki manual. Remove the shift shaft circlip so you
can pull the shift shaft out towards you. (you'll need to remove the
shift lever from the left side of the bike, too)
(Note: this bike already has the kit installed) |
|
.JPG)
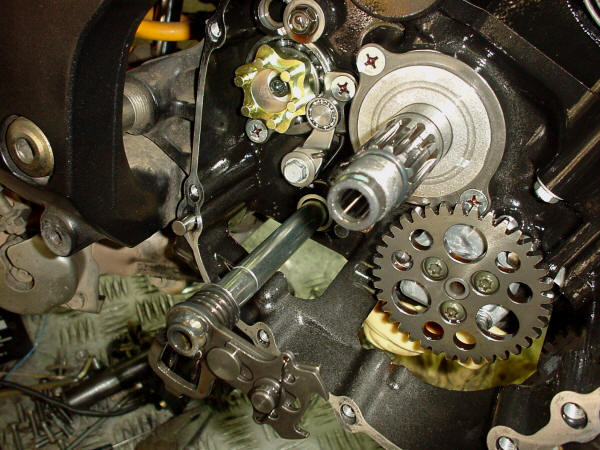
Remove and replace the Factory Pro Shift STAR. |
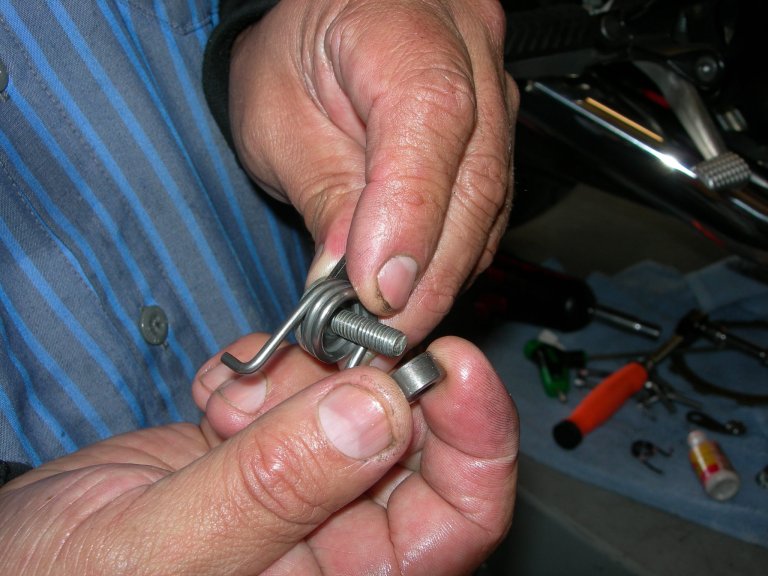
Remove and replace the Factory Pro Detent arm. |
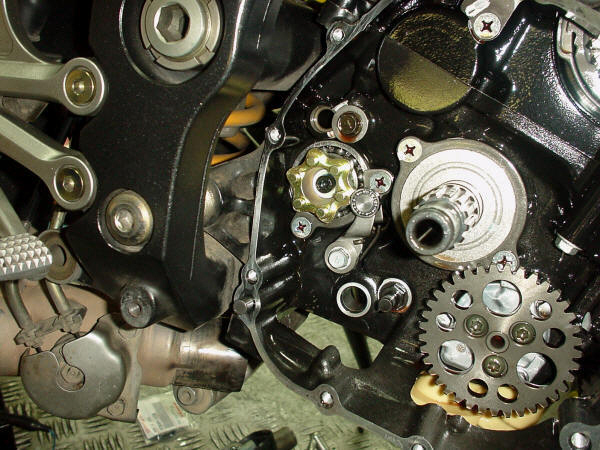
Installed STAR and ARM.
Use a drop of Loctite type threadlocker on the arm and STAR mounting
bolts. |
|
Reassemble stock shift shaft back into the engine. Replace the shift
shaft circlip in the oil pan.
Replace shift lever.
Reassemble the clutch assembly, oil pan and add OIL as per
Kawasaki Shop Manual. |